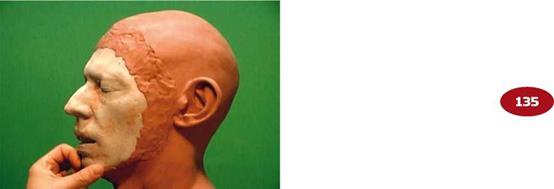
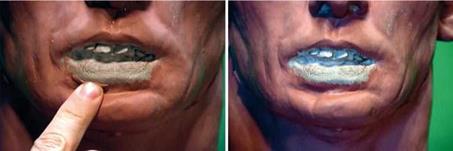
For a makeup that may cover an entire bust—the entire head and neck, for example—it is probable that the makeup will need to be broken down so that there will likely be several overlapping prosthetic pieces, each with its own mold of
![]()
two or more pieces. One very important bit of information you need to know for this chapter is this: If you are creating a makeup that will ultimately be cast in several pieces that will overlap, the initial lifecast must first be coated with a separating agent, such as Dentsply’s Al-Cote® (liquid foil). If you don’t use a separating agent between your stone positive and the clay sculpture, you will have a devil of a time getting the clay off in intact sections to create overlapping pieces—if you can get the clay off at all without destroying your sculpture.
So, let’s assume that you applied two or three coats of separator to your positive before you began sculpting with your clay. You need to decide how you are going to break the sculpture apart; in doing this you will also be determining how the pieces will fit back together, overlapping so that there will be no semblance of a seam anywhere on the makeup.
1. With a thin wood tool create a separating line on the day where you want it to part. Make the line somewhat random so that the dividing lines and subsequent edges will be less obvious. Make sure to press hard enough to reach the positive under the clay.
2. 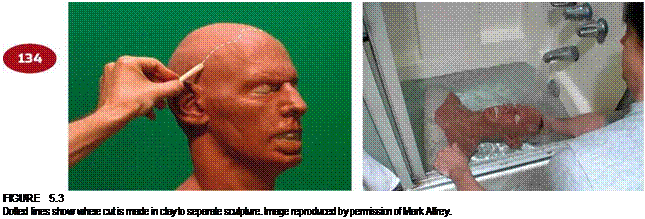
Fill a large basin or tub with water, enough to completely submerge your sculpture, and carefully place the sculpture into it.
figure 5.4
Mark Alfrey submerging sculpture into bathtub filled with water. Image reproduced by permission of Mark Alfrey.
3. Let it soak for about 24 hours to be certain the water has had time to reach the Al-Cote and liquefy it. By doing this, you will be able to "float" the clay off your sculpture.
4. There will likely be Al-Cote residue left on the clay; you should carefully wash it off with water and a chip brush. You want the clay to be clean to ensure that it will adhere to the new stone cast you will be placing it on.
5. You will need to make additional positives that will be used to resculpt individual pieces that will overlap. Carefully set aside the clay you have removed from the original sculpture.
6. Blend the rough edges of the sculpture where you have removed clay, and smooth it.
|
FIGURE 5.6
Removing residual Al-Cote from inside the clay of the face. Image reproduced by permission of Mark Alfrey.
|
|
|
![]()
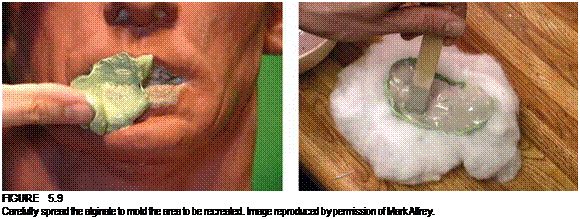
7. Now mix a batch of alginate large enough to just make a cast of the area you need to recreate, plus an inch or so beyond it.
8. You might or might not need to create a plaster mother mold of the alginate, depending on the size of the piece. When the alginate has set, carefully remove it, place it level on a support, and mix enough Ultracal to fill the alginate mold.
9. 
If the new piece you are making is small, such as a lower lip, you will need to create a base for it.
figure 5.10
Carefully mix and add Ultracal to the alginate mold. Image reproduced by permission of Mark Alfrey.
10. 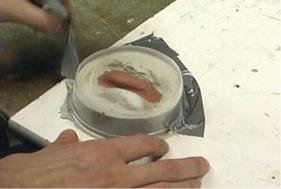 You will need to create an alginate or silicone mold and Ultracal positive for each separate overlapping piece of your makeup, so repeat steps 8 and 9 as many times as necessary.
11. Place the clay you removed from the original onto the new positives and seat it well; blend and smooth the edges and finish adding skin texture detail if you haven’t already done that.


