Ventilating is the technique used by Wig Makers to knot hair (either human or synthetic) into wig lace. It is similar to tying a rug, and has been used since King Louis XVI of France. There is single knotting and double knotting. There are many versions of lace, and quality of hair. Most lace pieces in film do not use synthetic hair—it does not look real. The quality of lace and hair and the blending of colors are extremely important.
The medium of the lace piece, as well as the design of the facial hair, will dictate what materials and hair are used. The hairline or beard line is always the finest quality of knots to create the illusion of the hair coming out of the follicle.
The Base
The base is made of one layer of custom dyed nylon lace using a blend of layers of fabric dye following the manufacturer’s directions. Match the actor’s skin color or
![]()
the foundation makeup used on the actor as closely as possible.
Construction includes seven separate pieces: chin, two side pieces, one lip piece, two connections, and one mustache. A light coat of acrylic spray is applied before hair ventilation to the finish base. This adds durability.
The Hair
Use human hair from different origins (Asian, Indian, European), as well as yak tail and belly hair. Blends of thicker and coarser hair are used at the bottom of the beard for body. Thinner, finer hair is used closer to the edges.
All hair is custom color blended using darker colors at the bottom and lighter colors at the edges, then permed using a mild alkaline perm. The diameter of the perm rod will determine the curling result. In this case, a medium to small perm rod is chosen for a frizzy, “ungroomed” result.
This will ensure that the beard keeps the shape, and restyling will be limited to a minimum.
Ventilating Hair
Knotting the preblended and permed hair into the lace base is done hair by hair (single-hair knotting), using the various color blends to design natural shading and highlighting. Lighter colors are always used around the edges of the beard (front shade), building up more volume at the bottom and in areas where denser beard growth appears, and decreasing the amount closer to the edges for a natural appearance.
|
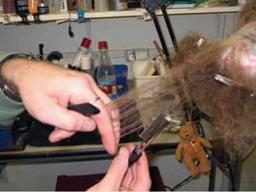
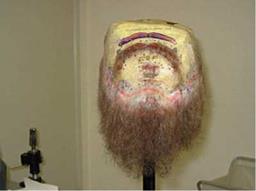
FIGURE 9-24: A BEARD SEPARATED IN SECTIONS READY TO CUT INTO SHAPE |
How to Cut Facial Hairpieces
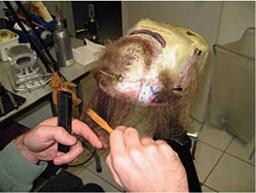
A good haircut can eliminate half of the styling and maintenance later on. Because perming is done on the hair, it needs to be treated like curly hair, which means caution is needed during cutting. Texturizing and cutting with razor and thinning shears (cutting different length into the hair) will give a more natural appearance of “beard hair.” Blunt cutting a straight line, especially on the mustache, will result in an unnatural “fresh-cut look” that is very “eye-catching” for the camera. The proper cut for a beard is as important as the proper cut for a hairstyle. If the cutting and texturizing are finished and the permed hair is reactivated with water, let dry naturally.
The beard shape and style should be almost completed after proper cutting. Finishing can be achieved with curling irons.
|
|
||
|
|||
|
|
|
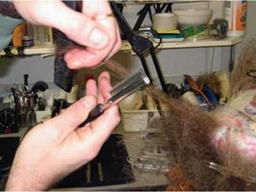
FIGURE 9-26: USING THE GUIDELINE REFERENCE, CUTTING THE HAIR ONTO THAT GUIDELINE |
![]()
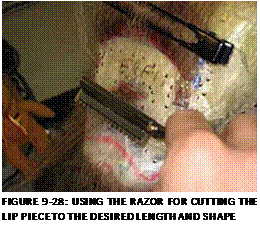 Elevating your hand while you razor the hair will give a layered-hair effect. All hair except for the sides of the beard is cut to this guideline. The sides of the beard are blended in length into the sideburn length of the design.
|
|
||
1 4 5
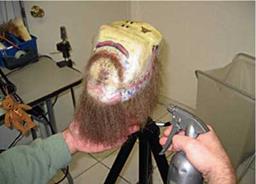
 Mist the precut beard with water, and lift hair using a lifting comb, so the curl can go back into its permed style. The beard is then dried in a wig dryer on a low setting:
100°F, or 45°C.
|
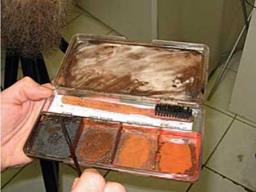
FIGURE 9-32: LIGHTLY WAXING DRIED HAIR WITH MUSTACHE WAX AND A BRISTLE BRUSH |
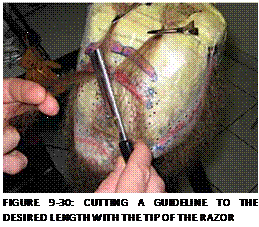
Cutting a guideline to the desired length with the tip of the razor cuts the mustache in the same manner. Make sure that both sides are even in length and shape. All of the hair is then cut to the length of that guideline with the tip of the razor.
After the hair and the base (lace) are truly dry, the hair is then lightly waxed using mustache wax and a bristle brush. The wax will protect the hair from the heat of the curling irons and from moisture. The facial
![]()
![]()
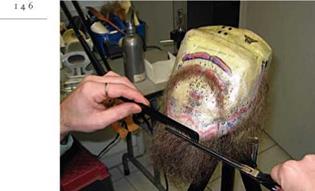
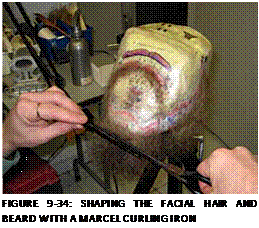

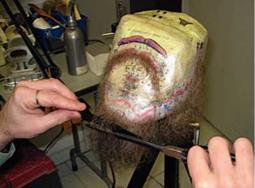

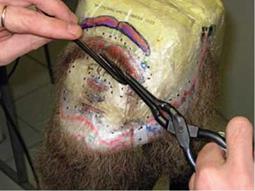 hair is now ready for final styling with the curling irons and tongs.
To bring the permed texture into shape, a small marcel curling iron and waving technique is used. Caution is to be taken that the texture does not appear like finger or marcel waves similar to the waves in hairstyles. Using artistic input as well as practice, this technique is useful for all longer beards and facial hairpieces for building texture, movement, and style.
Final touches are done on the texture of the beard prior to styling the mustache.
A flatiron, or tongs, is used to shape the mustache and the lip piece. Because of the use of perm-textured hair, the mustache hardly needs curling. Only the ends at the bottom of the beard are blended under. A root lift is applied to the edges by lifting and sliding a warm flatiron to the hair.
|
|
||

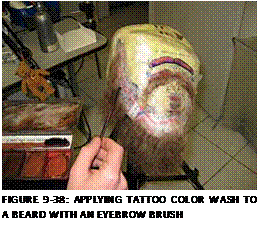
 1 47
1 47
hair into the beard color. Be careful not to make it too opaque or even too dark. The beard line should still be lighter than the beard for a natural effect. This technique will keep the edges soft, and knots will blend more easily around the edges with the skin color. After coloring is done, a light coat of matte clear acrylic spray is applied to the finished beard.
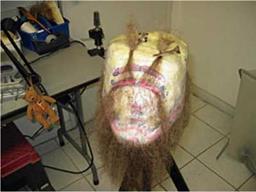
Figure 9.39 is a photo of the finished, styled beard before removing it from the beard block.


