Use a flat white synthetic bristle brush (between 3/8 and 1 inch in width), depending on the area being aged. The application changes only with the tools you use to put the SeLr to the skin. Have your brushstrokes complement the directions of the wrinkles. One to four layers, and up to as many as nine layers, can be used to get the desired effect. Stretch the area being stippled. While still stretched, apply SeLr concentrate ager with a brush, complementing the directions of the natural wrinkle. While the skin is still stretched, powder the area just done. Now release your stretch. Repeat the process until you have the number of layers desired. If possible, for multiple layers and if you can hold the skin that long, try not to powder in between layers. This will enhance the finished look. But whatever you do, don’t let go of the skin before your final stipple and powder are applied. Use a hand fan while working to keep the fumes away from the actor and to encourage the drying process of
each layer. A hair dryer can also be used on a cool low setting. When aging an actor, don’t get too close to the mouth or nasolabial area. Too much buildup of product will only cause you to have constant repairs because this is a very mobile area. Remember to keep your fingertips powdered at all times.
 |
|
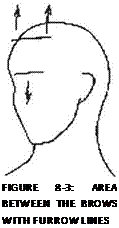 |
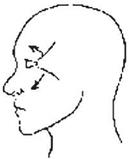
Furrow lines: Area between brows is pulled upward and outward.
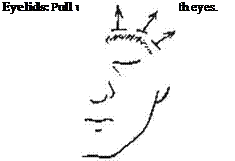
FIGURE 8-6: EYELID WRINKLES
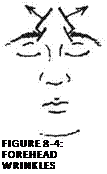
Forehead: Subject scowls to lower brow line, and hairline is pulled away from face.
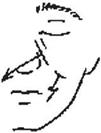
 Under-eye area: Pull down and toward center of face, both eyes.
|
FIGURE 8-7: UNDER EYE AREA LINES |
Crow’s-feet: Pull away from outer corners of both eyes.

![]()
 |
 |
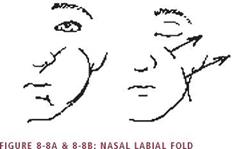
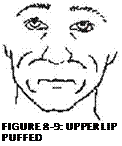
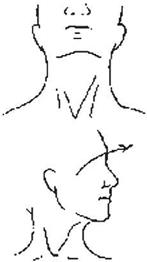
Option one: Lift area away from center of face.
Option two: Puff the area to be aged.
|
|
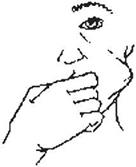
Cheek: Using the subject’s index finger, reach deep into the cheek and push out. This is a perfect opportunity to tie the nasolabials, under-eye area, and crow’s-feet together. Do both sides.
|
FIGURE 8-11: CHEEK STRETCH |

